

There’s something magical about the aroma of freshly baked bread wafting through your home-a timeless fragrance that evokes comfort,tradition,and simple joy. Baking the perfect loaf is both an art and a science,a dance between intuition and precise technique. From the gentle kneading of dough to the patient rise, and the golden crust that crowns your efforts, homemade bread connects us to centuries of culinary craft.In this article, we’ll uncover the secrets behind mastering bread baking at home, exploring the delicate balance of ingredients, temperature, and timing that transforms humble flour and water into a masterpiece worthy of any table. whether you’re a curious beginner or a seasoned baker seeking to elevate your skills, join us on this flavorful journey where creativity meets chemistry in the heart of your kitchen.
The Art and Science of Perfect Homemade Bread Baking
The Art and Science of Perfect homemade Bread Baking invites passionate bakers into the world where precision meets creativity, resulting in loaves that delight both the eye and the palate. From the choice of flour to the oven’s warmth,every variable influences texture,crumb,and flavor. Whether you’re kneading your very first dough or refining your expertise, understanding the fundamentals transforms simple ingredients into exceptional bread.
Prep and Cook Time
- Prep Time: 20 minutes
- Fermentation and Proofing: 3 to 5 hours (including bulk fermentation and final rise)
- Baking Time: 30 to 40 minutes
- Total Time: Approximately 4 to 6 hours
Yield
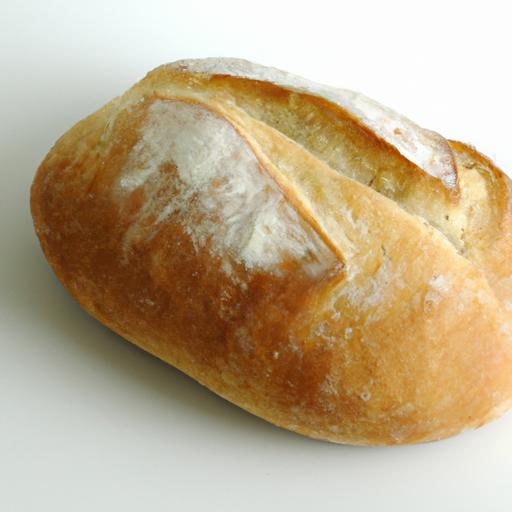
One rustic loaf, approximately 800 grams, serving 8 slices
difficulty Level
Medium – perfect for excited home bakers wanting to elevate their craft
Ingredients
- 3 ½ cups bread flour, sifted
- 1 ¼ cups water, lukewarm (around 75°F/24°C)
- 2 teaspoons fine sea salt
- 2 teaspoons active dry yeast
- 1 tablespoon honey (optional, to nurture fermentation)
Instructions
- Combine the yeast and lukewarm water. Stir gently and let rest for 5-10 minutes until foamy. This activates the yeast and ensures it’s healthy.
- In a large mixing bowl, whisk together bread flour and sea salt. Create a well in the center and pour in the yeast mixture and honey.
- Mix with a wooden spoon until a shaggy dough forms. turn the dough onto a lightly floured surface and knead for 10 minutes until smooth and elastic. The dough shoudl feel slightly tacky but not sticky.
- place dough into a lightly oiled bowl and cover. Allow to ferment at room temperature (70-75°F/21-24°C) for 2 to 3 hours or until doubled in size. This slow fermentation builds flavor complexity and perfect gluten progress.
- Gently deflate the dough and shape. For a classic boule, fold edges into the center, flip seam-side down and create surface tension by pulling the dough towards you on a clean surface.
- Transfer shaped dough onto parchment paper. Cover loosely and allow final proofing for 1 to 2 hours until it’s puffy and jiggly but not over-expanded.
- Preheat oven to 475°F (245°C) with a baking stone or heavy tray inside. Place a shallow pan on the lower rack for steaming.
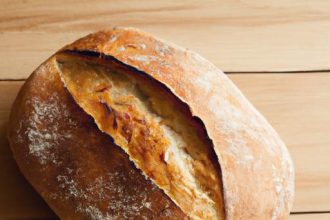
- Slash the top of the dough with a sharp blade. This helps control expansion.
- Carefully transfer the dough on parchment paper onto the hot baking stone. Pour 1 cup of hot water into the shallow pan to create steam, then quickly close the oven door.
- Bake for 20 minutes with steam. Remove the pan, reduce the temperature to 425°F (220°C), and bake for an additional 15-20 minutes until the crust is deep golden and crisp.
- Cool the loaf fully on a wire rack. This resting prevents sogginess by allowing moisture to escape fully.
Chef’s Tips to Master Every Step
- Flour matters: Opt for high-protein bread flour to achieve excellent gluten structure. A mix with whole wheat adds character but adjust hydration accordingly.
- Fermentation is flavor: Extend bulk fermentation by refrigerating the dough overnight for more complex and tangy aromas similar to artisanal bakery bread.
- Handling dough: Resist the urge to add too much flour during kneading; a slightly sticky dough yields a lighter crumb.
- Shaping secrets: Try gentle tension while shaping to enhance height and roundness. Flour your hands lightly to avoid tearing the dough skin.
- Steam technique: Use hot water or ice cubes to produce an initial burst of humidity-this delay in crust formation allows dramatic oven spring.
- oven calibration: use an oven thermometer to ensure exact temperatures, as home ovens can vary substantially.
Serving Suggestions
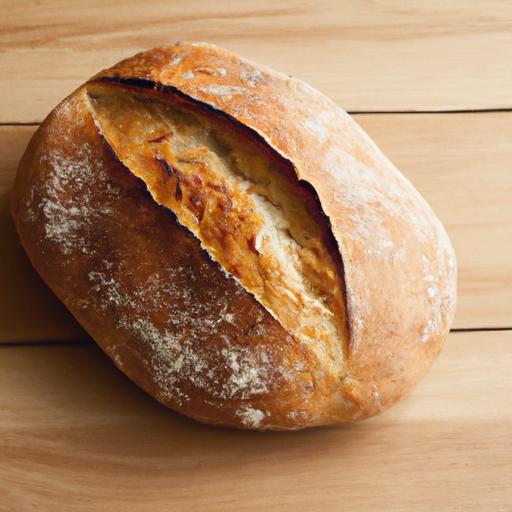
Serve this exquisite loaf fresh with rich, creamy butter or accompanied by a drizzle of fragrant extra-virgin olive oil and flaky sea salt. For an impressive presentation, slice the bread diagonally to reveal its airy crumb structure, and adorn the platter with sprigs of fresh thyme or rosemary. pair it alongside hearty soups, vibrant salads, or a savory cheese board for a versatile dining experience that honors your craftsmanship.

nutritional Details
| Per Slice (1/8 loaf) | calories | Protein | Carbs | Fat |
|---|---|---|---|---|
| Calories | 180 | 6g | 35g | 1g |
For a deeper dive into mastering dough techniques and enhancing your bread baking skills,visit our Guide to Gluten Development. For scientific insights on fermentation, the sciencedaily fermentation breakdown offers valuable details.
Q&A
Q&A: The Art and Science of Perfect Homemade Bread Baking
Q1: What makes homemade bread different from store-bought bread?
A: Homemade bread carries the soul of the baker-each loaf is a unique masterpiece crafted with care. unlike mass-produced bread that frequently enough contains preservatives and additives, homemade bread boasts fresh, simple ingredients and the warmth of your own kitchen. The aroma alone is a magical experience, and the texture is delightfully chewy, crusty, and tender in ways no packaged bread can quite match.
Q2: Why is kneading dough so crucial, and how do I know if I’ve kneaded enough?
A: Kneading is where gluten-the elastic network that gives bread its structure-is developed. Think of it as massage therapy for your dough, coaxing it into a stretchy, strong fabric ready to trap those lovely gas bubbles. You’ll know you’ve kneaded enough when the dough feels smooth and springs back gently when poked. A simple test is the “windowpane test”: stretch a small piece of dough; if it stretches thin without tearing and lets light shine through, you’re golden.
Q3: Can I bake perfect bread using whole wheat or other alternative flours?
A: Absolutely! Whole wheat and alternative flours like spelt or rye bring fantastic flavor and nutrition but they behave a bit differently than all-purpose flour. Because they contain more bran and fiber, they can weigh down the dough and reduce gluten development. A great trick is to mix whole wheat with a lighter flour or add a touch of vital wheat gluten for a lighter crumb. patience during rising also helps these flours shine.
Q4: How important is hydration in bread dough, and how do I adjust it?
A: Hydration-the ratio of water to flour-is the lifeblood of your dough. It affects everything from texture to crust thickness. A higher hydration dough tends to produce open, airy crumb with a crisp crust but can be sticky and challenging to handle. Lower hydration creates denser bread with a tighter crumb. Adjust by adding water gradually and observing your dough’s feel-it should be tacky but not overly wet or dry.
Q5: What’s the secret to achieving that perfect crust?
A: The perfect crust is a harmonious balance of heat, steam, and timing. Steam in the oven during the first part of baking keeps the dough surface moist, allowing it to expand before forming a hardened crust.you can create steam by placing a pan of hot water in the oven or misting water onto the dough or oven walls. Baking at a high temperature, usually around 450°F (230°C), helps caramelize the crust for that gorgeous golden color and crackling texture.Q6: How do I know when my bread is fully baked?
A: Visual and tactile cues guide you here. The loaf should be deep golden-brown, with a firm crust. When tapped on the bottom, it should sound hollow-this is the classic ”tap test.” If you have a thermometer, bread is done when the internal temperature hits about 190°F to 210°F (88°C to 99°C), depending on the style.Q7: Can I bake bread without commercial yeast?
A: Yes! Sourdough baking uses naturally occurring wild yeast and beneficial bacteria, creating complex flavors and a tangy profile you won’t get with commercial yeast. It’s a slower process requiring a live starter culture and a bit more attention, but the rewards-a deeply flavorful, chewy loaf-are well worth it. plus, it’s a beautiful blend of art and microbiology.Q8: How does temperature affect bread making?
A: Temperature is a powerful conductor in bread baking. Warm environments speed up yeast activity and fermentation, while cooler temperatures slow it down, allowing for deeper flavor development. Proof your dough at around 75°F (24°C) for efficient rising, or refrigerate for a slow proofing that enhances taste. Oven temperature, as noted, is crucial for crust formation and crumb texture.
Q9: What are some creative ways to flavor homemade bread?
A: The canvas is endless! Herbs like rosemary, thyme, or sage infuse your loaf with aromatic warmth. Add-ins like olives, sun-dried tomatoes, roasted garlic, or nuts introduce delightful textures and bursts of flavor. Even spices such as cinnamon or cardamom can transform your bread into a sweet or savory delight. Experimentation is the bread baker’s playground.
Q10: How can I store homemade bread to maintain its freshness?
A: Freshly baked bread is best enjoyed within a day or two but can be kept fresh longer with a little TLC.Store at room temperature in a breathable, cloth bag or wrapped loosely in parchment paper to retain crustiness. Avoid airtight plastic bags, which can cause the crust to soften and mold to develop faster. For longer storage, slice and freeze your bread-thawing slices gently keeps the texture intact.
Unlocking the secrets of homemade bread combines instinct, science, and patience. Whether you’re a novice or a seasoned baker,every loaf tells a story-of flour dust,warm hands,and an oven’s glow. Happy baking!
Wrapping Up
As the final crumb settles and the warm aroma lingers in your kitchen, you’ve not only mastered a recipe-you’ve embraced a timeless dance between art and science. Perfect homemade bread baking is a party of patience,precision,and creativity,where each loaf tells a story of transformation from simple ingredients to a comforting masterpiece. So, whether you’re cultivating wild yeast or kneading by hand, remember: every batch is a new experiment, every crust a canvas, and every crumb a testament to your evolving craft. Keep baking, keep exploring, and let the humble loaf continually inspire your culinary journey.